Conklin 75

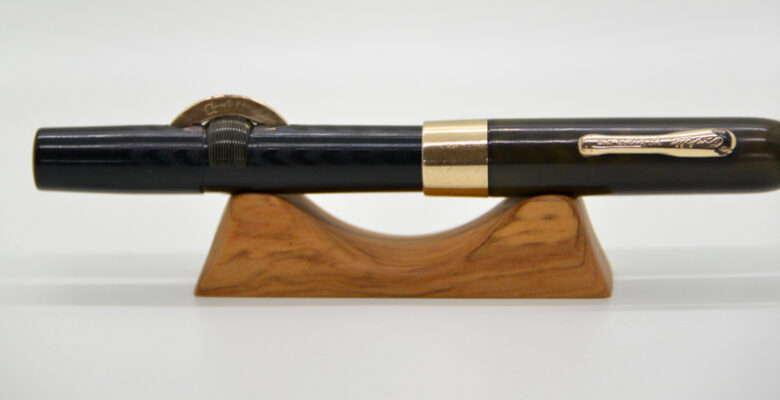
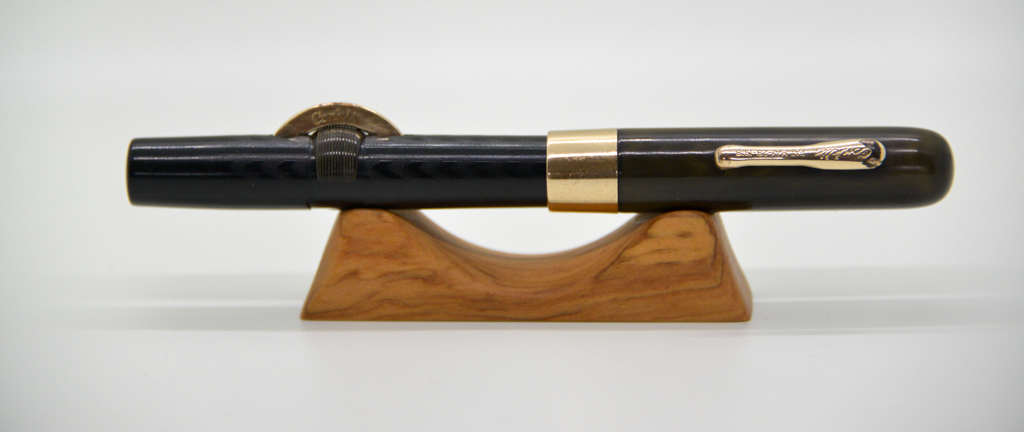
In 1898, Roy Conklin founded The Conklin Pen Company in Toledo, Ohio. One of their notable contributions to fountain pen “technology” was the crescent filling mechanism, where a crescent-shaped bar protrudes from a slot in the barrel and is used as a button to squeeze the ink sac. In order to avoid this happening when you are NOT filling the pen (and thus squirting ink out of the nib), a small collar is rotated under the crescent, locking it in the “up” position.
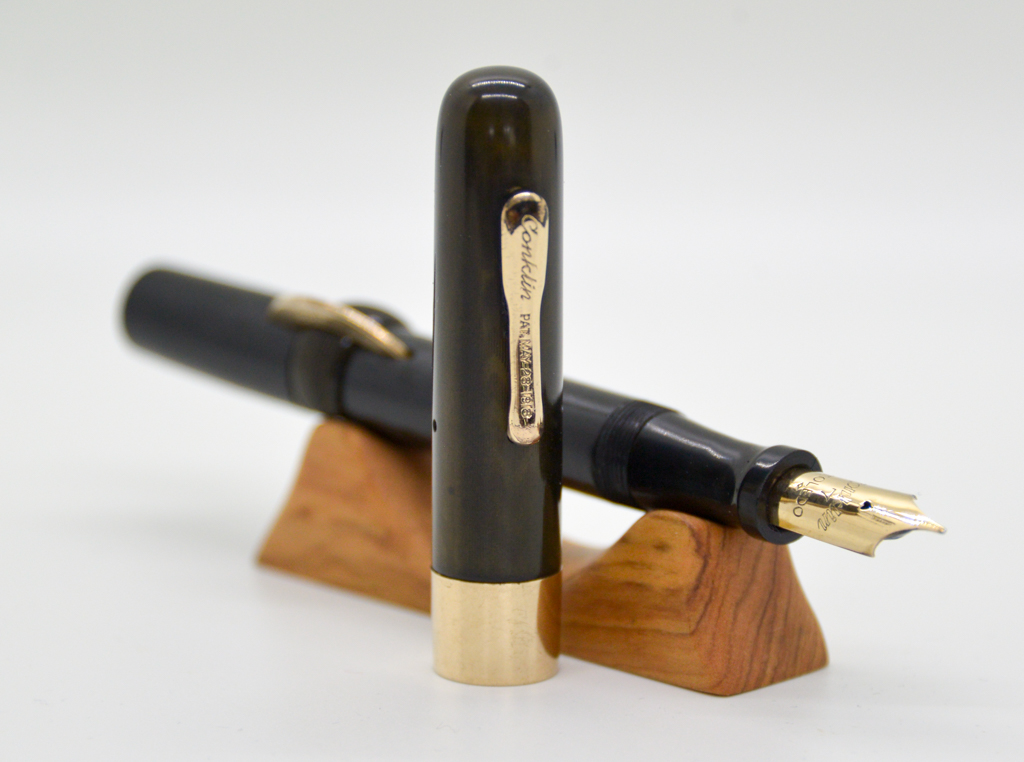
This model 75 Crescent Filler was made in the 1920s and is made of ebonite and 14k gold. As can be seen in the photos, the cap had suffered more discolouration and wear than the barrel. I chose to wet-sand both, starting with a 3600 grit, and working my way up to 12,000-grit and finishing off with Simichrome polish. However, I did this entire process very lightly, since I didn’t want to lose any of the chasing or imprints.
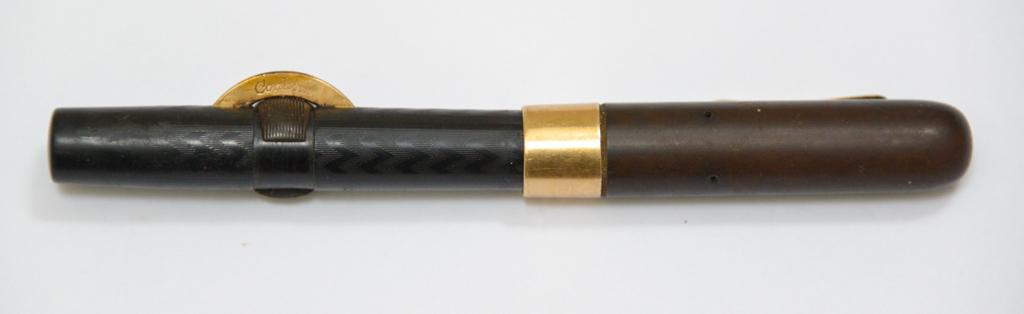
A shot of the pen before getting started.
Separating the section from the barrel took about 45 minutes of repeated heating and soaking in an ultrasonic cleaner – patience is the most useful tool when working on a 100-year-old pen. The rotating collar under the crescent was also stuck, so this also took some time and gentle persuasion to get it moving without breaking it. It’s also easy to see in the photo that the gold trim on the cap had been working its way off for some years…
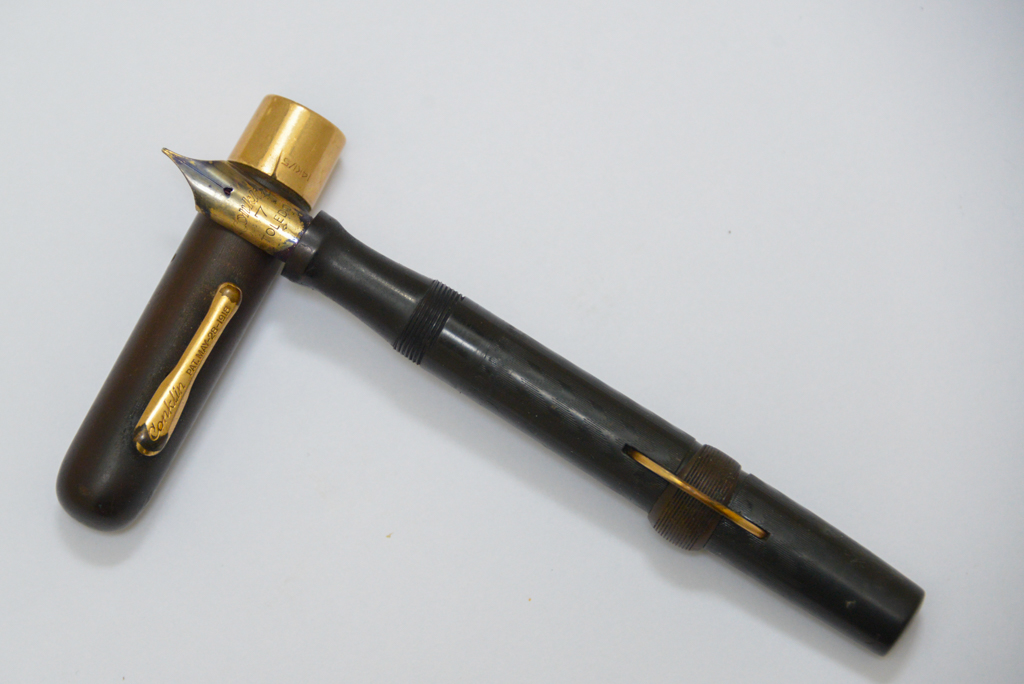
No cracks, and the nib is in good shape, although there is a gouge out of the gold trim on the cap, and some brassing on the clip.
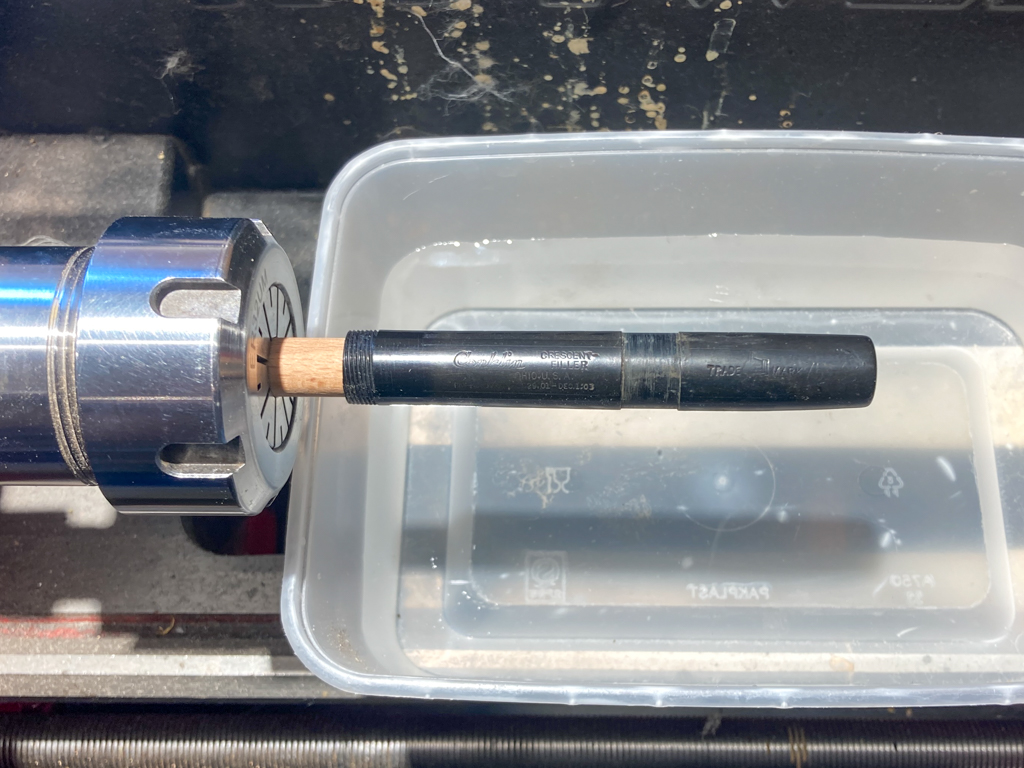
Starting the wet sanding on the lathe. The collar slides off the bottom end of the barrel once everything is loosened.
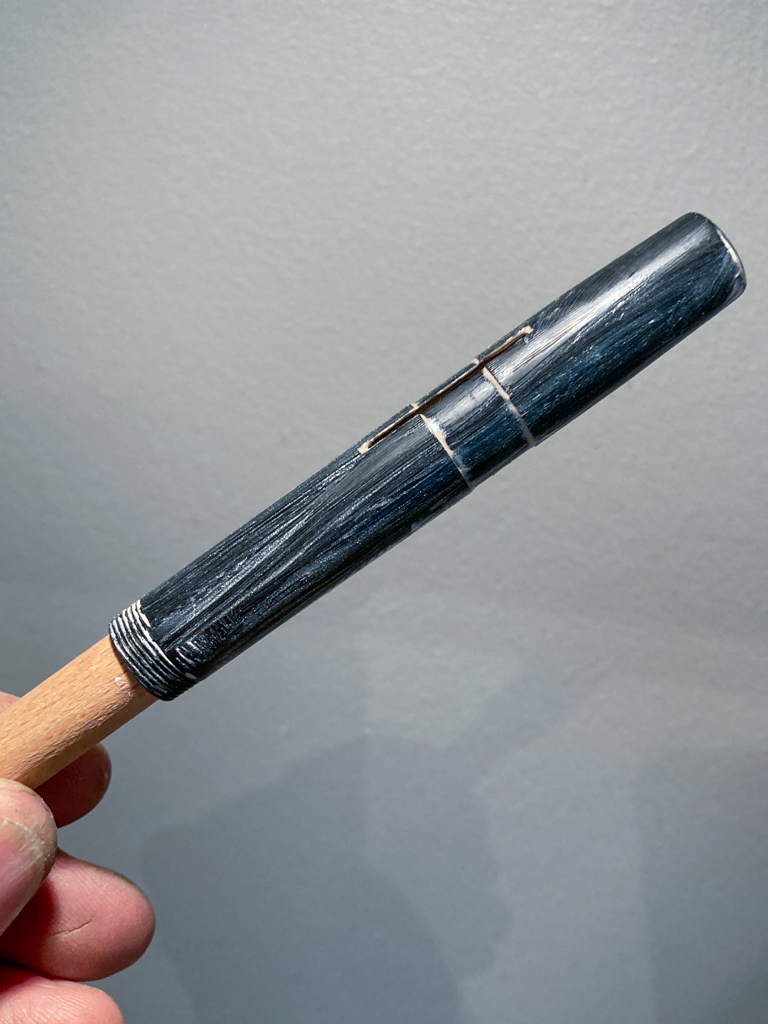
Finishing off with Simichrome.
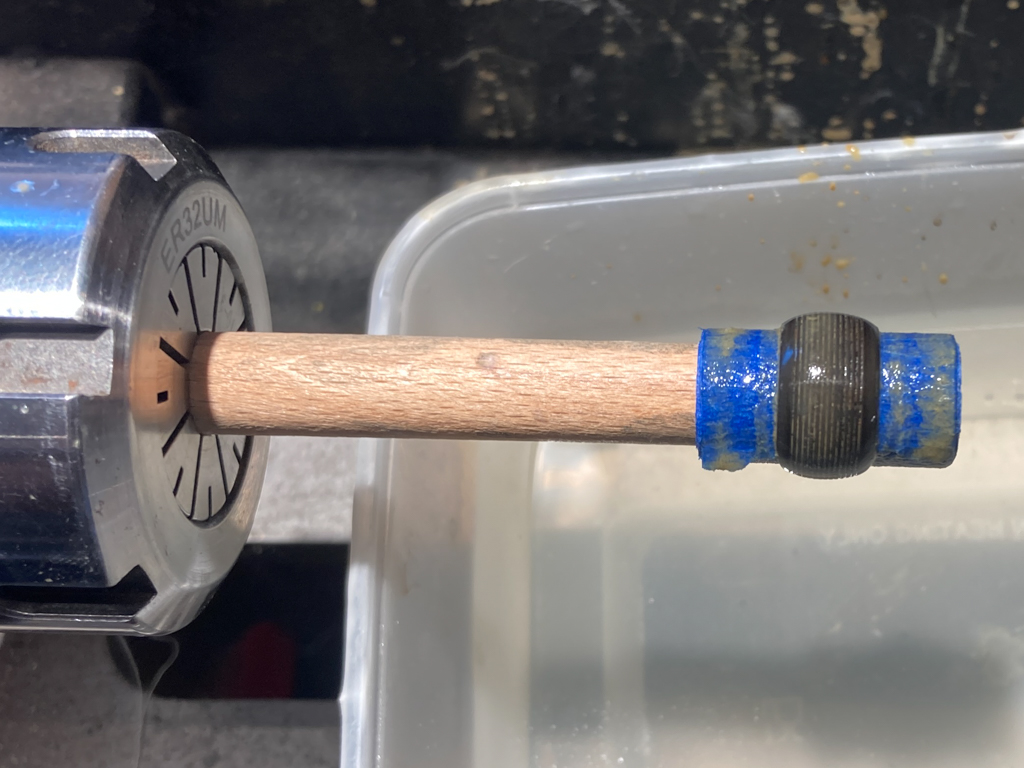
Wet sanding the collar. This was also done quite gently, with most of the work being done by turning the lathe with my hand instead of using the motor.
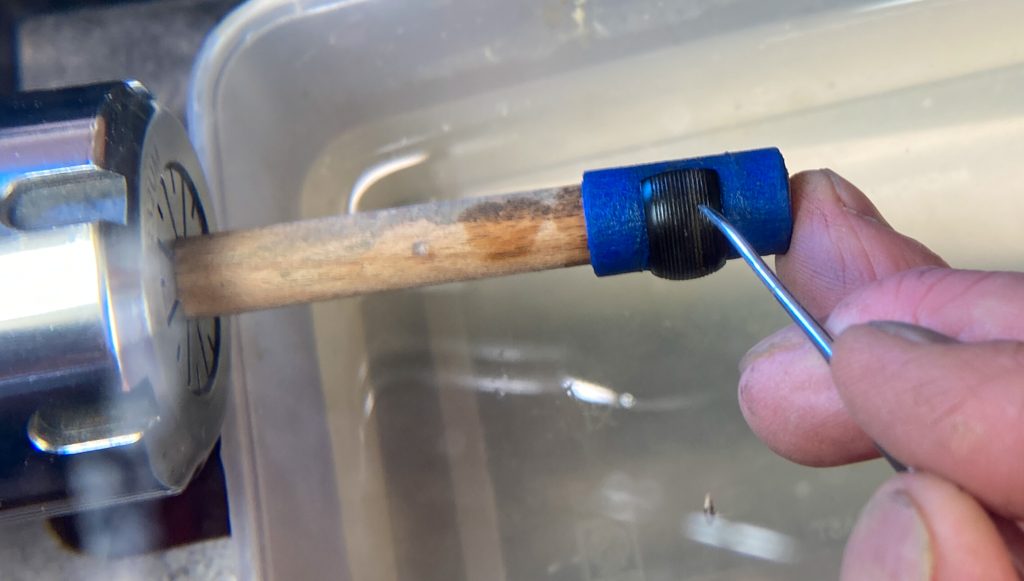
Using a dental pick to clean out each groove individually. I did this looking through a desk-mounted magnifying glass that lives next to my lathes, and, again, I was rotating the piece by hand.
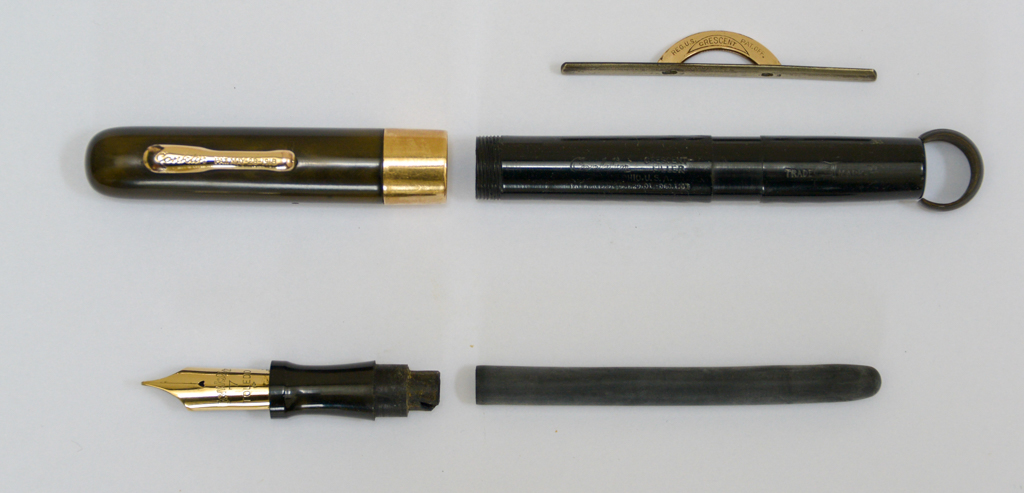
The parts, ready for re-assembly. The gold trim on the cap has been re-seated and glued on using shellac.
Note the crack in the nipple on the section. This is the reason why I chose to not remove the nib and feeder from the section (which I normally do to clean out the grooves in the feeder). However, I decided that this one is just too fragile to mess around with it.
This video shows a similar pen being made, step-by-step.